For those of you looking to put one of our Adams Arms Gas Piston Kits on a Spike’s Tactical BAR rail, which is not compatible with the system, check out this video of a modification done to allow the AR 15 gas piston conversion to work. Below is a transcription of the video.
“Hey there, this is just a quick look at a modification done to be able to accept the Adams Arms Piston Kit. I am doing this video because there is a lot of chatter on the Forum that this won’t work, can never get it to work and so on. So this is basically yes you can get it to work, you just need to machine one part. This is as you can see a Spike’s Tactical BAR rail. It is a 9” bar rail and look an Adams Arms Piston Kit “wow I wonder how he got that to work?” Well I know Spike’s Tactical had some drawings up on their forum how they planned on doing a barrel nut that would accept the Adam’s Arms Kit, well this is not that. I did not go with modifying a barrel nut or anything like that. You can see the piston spring in there is relaxed, there is the drive rod, and the gas block fits up in there perfect. It is not touching the rail, the rail is still free float and you can see there is a gap just enough. Let’s take it apart and I’ll show you what I did.
Pull this out just like that. There we go it is broken down. This is the drive rod. Now I wish I could find my other drive rod I purchased before I did this because I didn’t want to take the chance of oh sh*t now I don’t have a drive rod I can’t put it on my other rifle. Which was my back up plan, just put it on my other rifle which doesn’t have a guard rail just has normal hand guards and just use it on that. I really wanted to do it on this because this is just too cool and isn’t something that’s been done, at least nothing that I have been able to find. Anyway, can’t find the other drive rod to compare it to but here we go. Take the spring off, there’s these notches. You see the notches? Those notches kind of do a couple of things: they prevent the rod from going completely into the rifle in one direction, obviously it’s not going to because of that, but still it keeps it somewhat stable, and it also keeps the spring on. It’s pretty much the main intention to keep the spring on there. Those little shelves as you can see there are two shelves. Those shelves need to be machined back, back onto the rod about a half inch. When you do that it works.
As you saw when I had it in there, the spring was relaxed and the rod was able to travel.
I shot 100 rounds yesterday testing it I didn’t have a single malfunction the rod is not bent, the rod is still straight. No issues at all, it works like it came that way and it is a simple fix. You put this on a lathe and you lathe it back this way a half inch. You can see I tried to blue it but it was a sh*tty bluing job so you will have to forgive me for that. But that’s how you do it. I would be more than happy to get you the measurements and specifications. Obviously you machine it at your own risk. So the measurements I took are exact; they are right on. I suggest buying an extra drive rod before you do it just in case you mess up but that’s how you do it. Then it all goes back together, and I’ll put it back together now. That’s that it’s in. You can see the spring is relaxed, no issues, it’s a simple fix. Just put the drive rod on a lathe and you lathe it back about a half inch.”
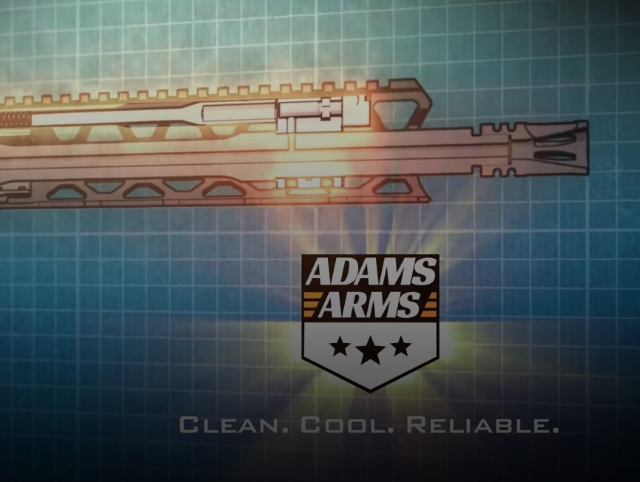
Now that you have learned how to modify your rail so it is compatible with an AR 15 gas piston conversion, check out the Adams Arms Piston kits here.